
Last updated November 22, 2026
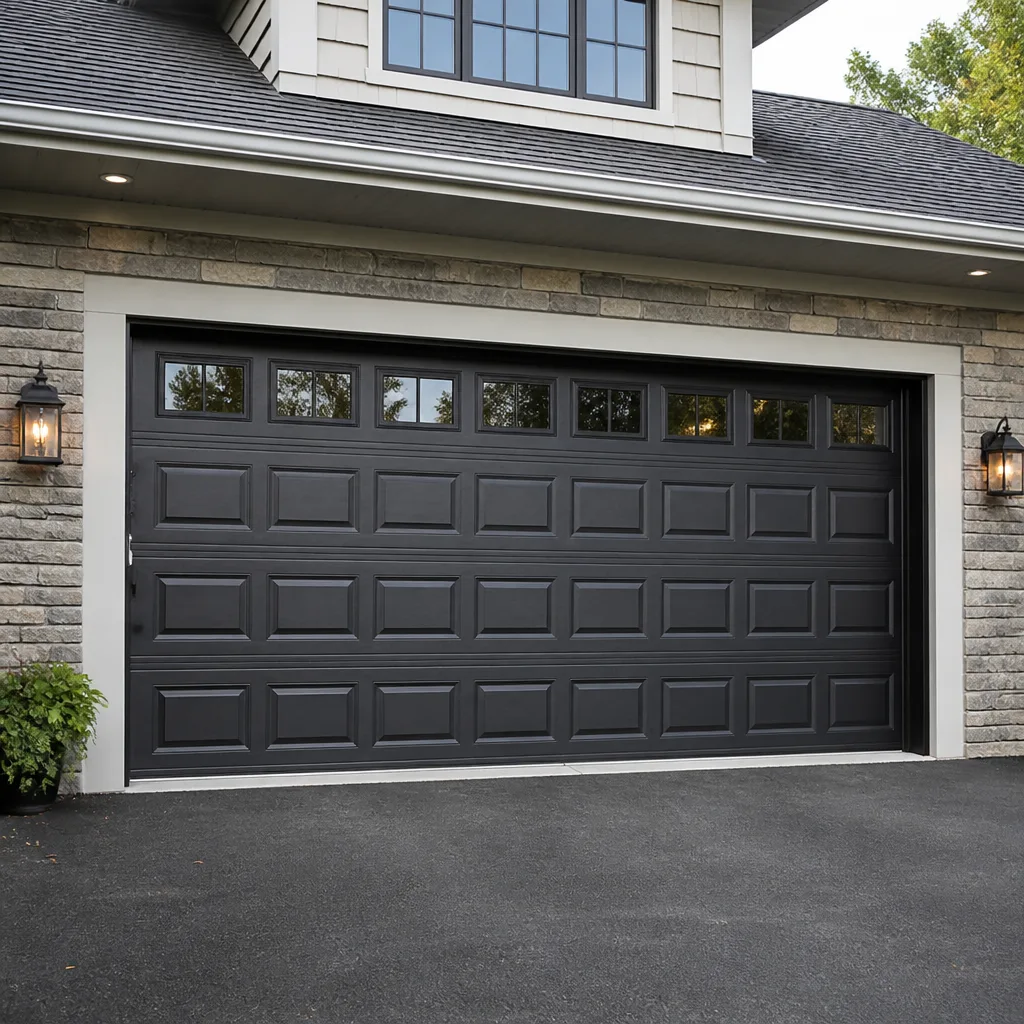 Raised-panel steel
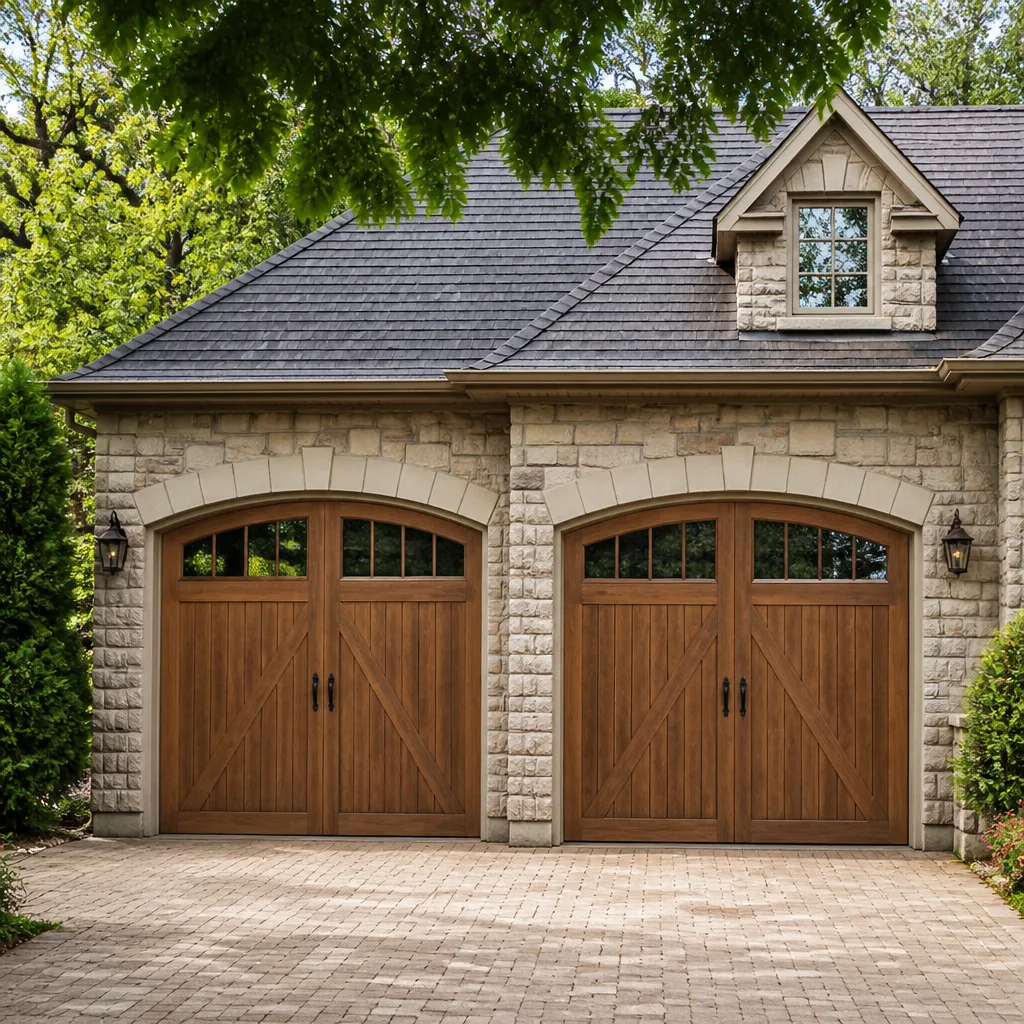 Carriage house
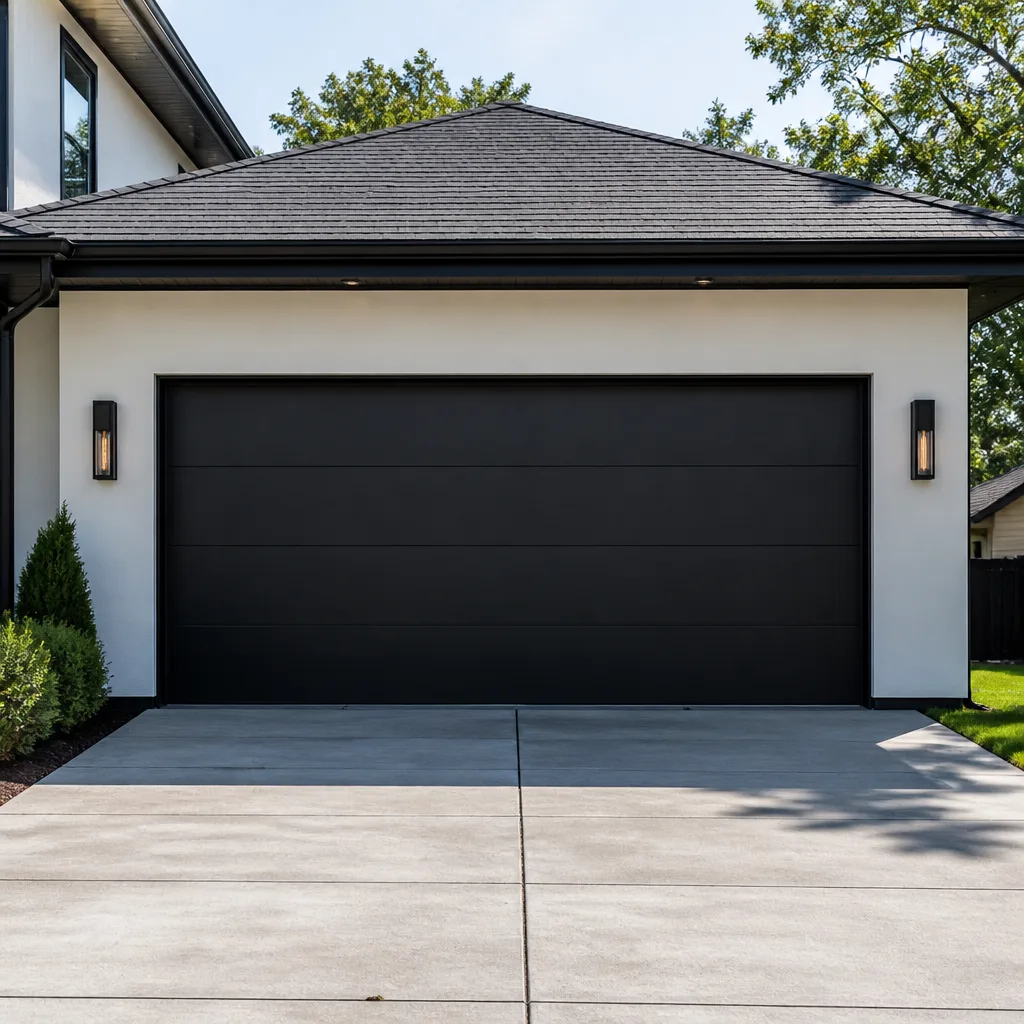 Modern flush
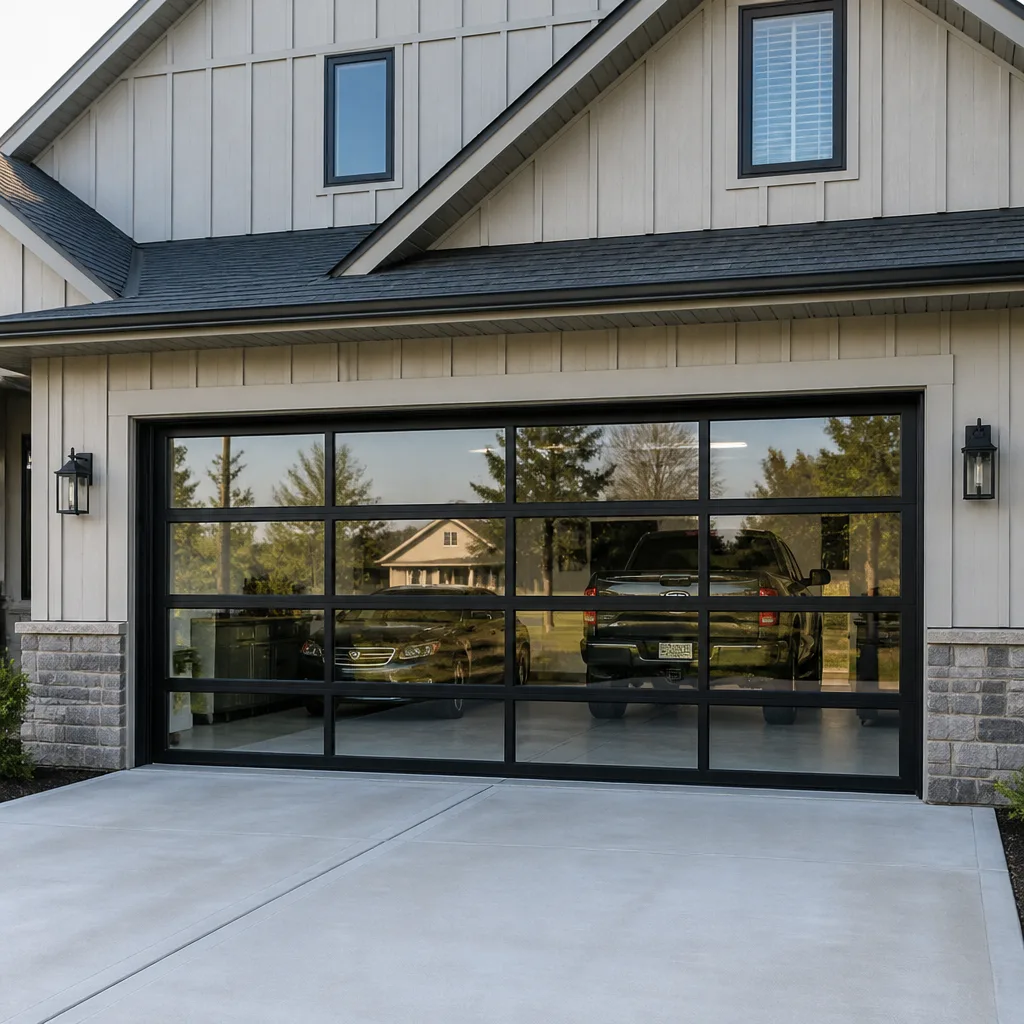 Full-view glass
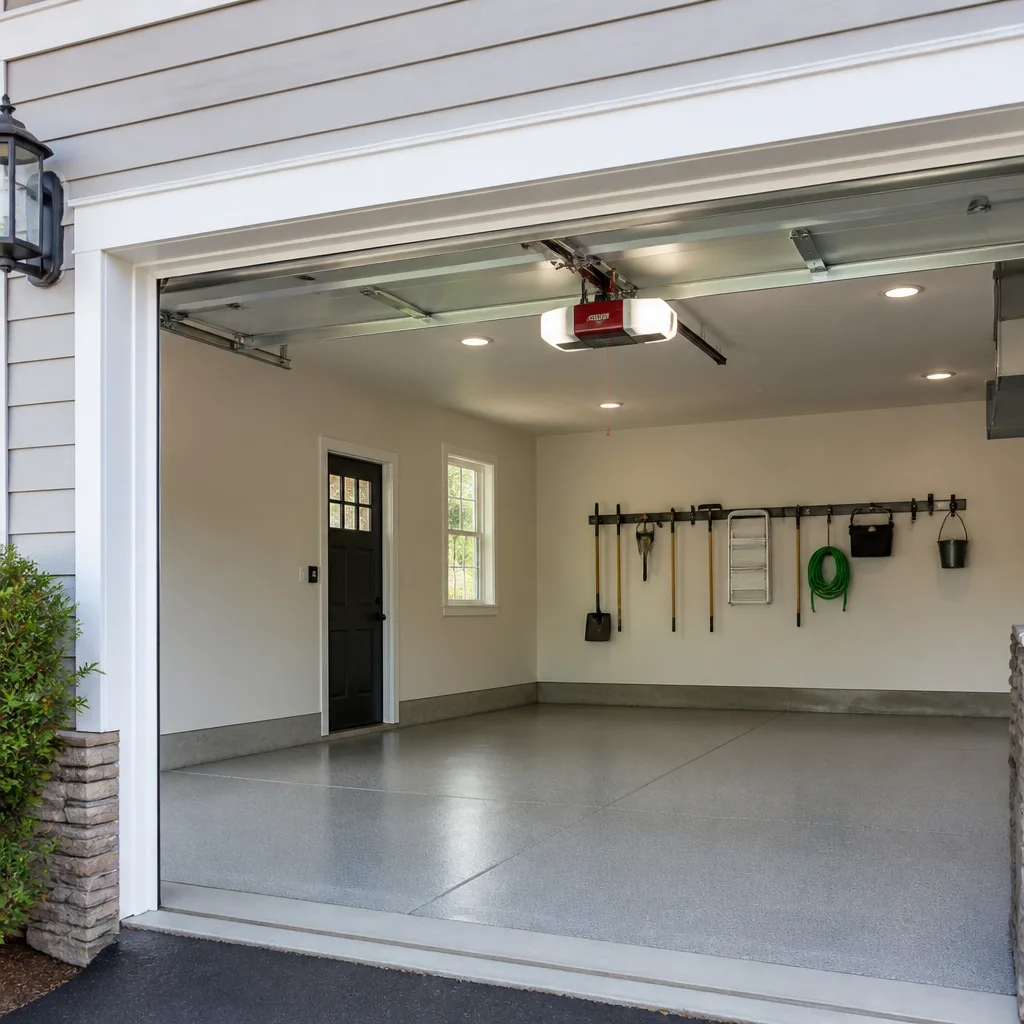 LiftMaster openers
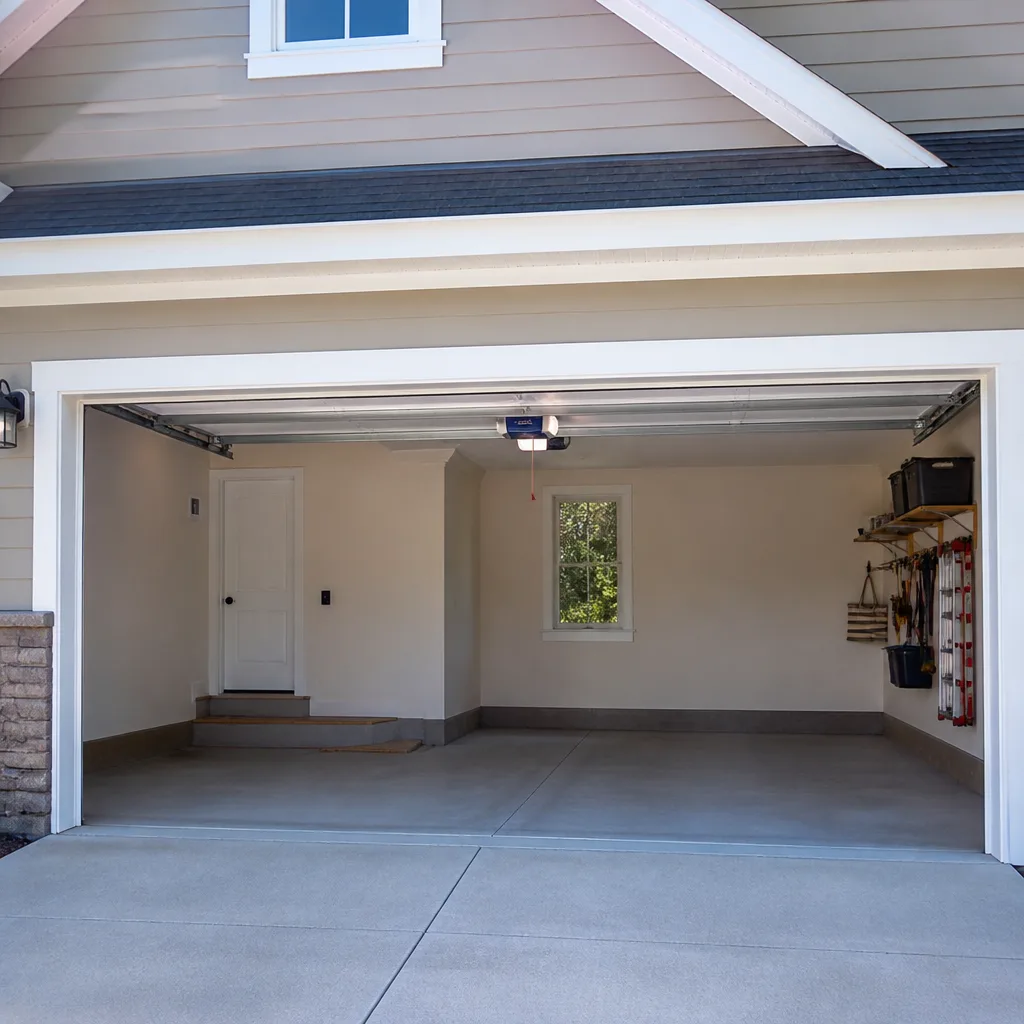 Chamberlain openers
Full 25-point door and opener safety check with every visit - springs, cables, rollers, tracks, and your LiftMaster or Chamberlain opener included
You get a price before we start. It does not change when the pro arrives.
Get your free estimateDIY vs Professional Garage Door: The Hilliard Homeowner’s Decision Guide
Every homeowner who’s ever watched a garage door spring break has the same first thought: “That looks simple. It’s just a spring.” It isn’t just a spring. A torsion spring holds a door that weighs a few hundred pounds in balance, and it stores that energy in a coiled bar of steel under constant load. When it lets go, it releases all of that tension at once. The question in Hilliard isn’t whether you’re handy enough. It’s whether the specific task in front of you belongs in the DIY column or the professional column. This guide sorts the two apart, task by task, and shows you where the real cost difference sits.
Styles & brands we work with
- Raised-panel steel
- Carriage house
- Modern flush
- Full-view glass
- LiftMaster openers
- Chamberlain openers
Quick Answer
Most garage door work is genuinely safe to do yourself: lubricating, weatherstripping, sensor alignment, and tightening hardware are all reasonable homeowner jobs. Spring repair, cable replacement, and torsion hardware work are not DIY tasks, no matter how confident you feel. Those three jobs should always go to a trained technician, and everything else is negotiable.
Table of Contents
- Where the DIY line actually falls
- The garage door tasks that are genuinely DIY-safe
- Why torsion spring tension is a different category of risk
- What you can do with an opener and what you shouldn’t
- How DIY work affects your door and opener warranties
- A realistic cost comparison for Hilliard homeowners
- The two mistakes Hilliard homeowners make most often
- When to call a professional
- Frequently asked questions
- The bottom line
Where the DIY Line Actually Falls
The garage door conversation usually splits into two camps: people who fix everything themselves and people who call for everything. Neither camp is entirely right. The useful line sits in the middle, and it’s drawn around stored energy.
If a task involves adjusting, releasing, or replacing anything holding tension, stop and call. If a task involves the door’s edges, surfaces, sensor eyes, or lubrication points, you can do it yourself with a ladder and a weekend afternoon. That’s the whole decision, really. Everything else in this guide flows from that one rule.
In our experience working on doors across Hilliard, the tasks homeowners successfully handle fall into one bucket, and the tasks that turn into a bigger repair than the original problem are in a much narrower one. The pattern is consistent enough to be worth memorizing:
- Tension work – not DIY. Torsion springs, torsion bars, winding cones, extension springs, cables, and cable drums all carry stored energy.
- Weight-bearing hardware – not DIY. Hinges that hold a panel in place, bottom brackets, and rollers under load can release pressure unexpectedly if you’re mid-replacement.
- Fine adjustment work – DIY-okay. Sensor eyes, reversing tests, travel limits, and force settings on the opener are all done with the door stationary and the opener unplugged.
- Maintenance work – DIY-okay. Lubrication, weather seal replacement, and track cleaning are safe.
- Cosmetic and electrical-adjacent – depends. Painting or staining the door is not electrically or mechanically dangerous but has to be done correctly or you’ll void the factory finish. Adding an outlet for a new opener is electrician work, not garage door work.
That’s the whole map. If you’re not sure which bucket your job is in, call us and describe it. We’ll tell you honestly whether it’s a homeowner job.
The Garage Door Tasks That Are Genuinely DIY-Safe
We’re not going to talk you out of every project. Some garage door jobs are well within reach for a homeowner with a ladder and a set of tools, and calling a professional for them is overkill.
Weatherstripping replacement
The rubber seal along the bottom of the door and the trim seal around the frame degrade on their own schedule. Replacing both takes an afternoon, costs almost nothing, and visibly reduces drafts. You slide the old seal out of its channel and slide the new one in. No tension involved.
Sensor alignment
Photocell sensors are small, need to be pointed at each other, and drift out of alignment easily. Look at the LED on each unit. If one is solid and the other is blinking, they aren’t talking. Straighten the bracket, check for spider webs or debris on the lens, and test the door. If the door reverses when you pass your hand through the beam, the sensors are working.
Lubrication
Use a silicone or lithium-based lubricant on the hinges, rollers, and track. Skip the WD-40 style oils, which attract dust and gum up the rollers. Skip the torsion spring entirely – you’re not touching that. Spray, cycle the door, and repeat once a year.
Reverse test
Place a 2×4 flat on the ground under the door and close it. The door should stop and reverse. If it doesn’t, the force settings need adjusting. That’s a small fix but it does involve the opener, so see the opener section below.
Loose bolt tightening
Hinges and roller brackets are held on by bolts. They work loose over time. Tighten them with a socket and drive, but don’t torque them violently. Snug is enough.
A note on panel cleaning and painting
Washing a door with a hose and dish soap is fine. Painting is fine if you use a paint recommended for your door’s material. Steel, aluminum, and wood each take a different product, and using the wrong one causes bubbling and peeling. Check the manufacturer’s recommendations for your Clopay or Amarr panel before you buy paint.
Why Torsion Spring Tension Is a Different Category of Risk
Here’s the part that turns the friendly DIY conversation serious. A torsion spring is a coil of steel under continuous torque. It has to be, because that torque is what makes a 200-pound door feel weightless in your hand. When it’s properly tensioned, you can lift a two-car door with two fingers. When it’s not, the door falls.
The danger in spring work is that all that stored energy has to go somewhere when it releases. It doesn’t matter how carefully you approach the job. The tool used to wind torsion springs – a pair of steel winding bars inserted into the winding cones – has to be held under load the whole time. If a bar slips, the spring unwinds with a bang and the bar becomes a projectile. If your hand is where the bar was, it goes with it.
The Consumer Product Safety Commission has logged garage doors as a recurring source of serious home injuries for decades, and a disproportionate share of those injuries involve homeowners attempting spring or cable work themselves. That’s why our technicians treat spring jobs with dedicated tools, winding bars matched to the spring gauge, and a process.
The physics in plain English
Think of a torsion spring as a steel bar you’ve been slowly bending for ten years. When you finally let it go, it snaps back with all that accumulated force. The winding process on a new spring is the same event in reverse. Every turn of the winding bar adds torque that you have to hold, control, or release on purpose. A trained technician releases it slowly and deliberately over the course of a job. An untrained homeowner holding two winding bars has to do the same, without the benefit of having done it a hundred times.
Extension springs on older doors are their own hazard. They run along the horizontal tracks above the door and, when they break, fly toward whatever is in their path. That’s why most current installations use safety containment cables on extension springs. If your older door doesn’t have them, that alone is worth a professional look.
We’re not telling you this to scare you into calling. We’re telling you because the risk here really is in a different category than swapping a light switch or redoing a tile backsplash. garage door spring repair is the single most common service call we get, and the majority of those calls come from homeowners who tried it themselves first. Call (833) 918-9857. We answer 24/7.
What You Can Do With an Opener and What You Shouldn’t
Openers look more approachable than springs. There’s no visible tension, no flying steel. But modern openers – including the LiftMaster and Chamberlain myQ ecosystem that dominates newer homes in Hilliard – pack electrical risk and firmware risk into a small unit, and homeowner repairs frequently void a warranty that was still in effect.
Here’s a practical split.
DIY-safe: remote and keypad pairing
Adding a remote or programming a keypad is standard homeowner work. Every major opener brand has a documented pairing sequence, and Genie units are particularly straightforward about theirs. Pull the manual and follow the steps. If pairing fails repeatedly, the remote battery or the logic board is the likely issue. That’s when you call.
DIY-safe: safety sensor realignment
The sensor on the opener is the two-eye unit near the floor. Straighten it, wipe it, test it. Same as the sensor adjustment above. If your door works fine except when the sun hits one sensor directly, a small shield or hood solves it.
Not DIY: opener replacement
Replacing an opener means disconnecting the door from the operator, removing the rail and motor from overhead, mounting a new rail, wiring the safety sensors, and reconnecting the door. It also means working overhead on a ladder for an hour with a heavy piece of equipment. If the old opener has been working, the lift is set correctly on the door side, and getting the new opener installed and adjusted right requires a trained eye. Replacing an opener on a door that’s out of balance will burn out the new unit quickly, so the door has to be checked first.
Not DIY: opener repair beyond the basics
If the logic board is dead, the gear assembly has failed, or the motor runs but the door doesn’t move, that’s a repair job. Call for garage door opener repair and describe the symptom. It’s almost always something we can diagnose over the phone once we know the brand, the approximate installation year, and whether the door moved before the opener stopped.
Not DIY: electrical work
If your opener needs a new circuit or an outlet moved, call a licensed electrician. That’s outside what a garage door company does, and it’s outside what you should do yourself.
How DIY Work Affects Your Door and Opener Warranties
This is the part homeowners rarely think about until it’s too late. Both the door and the opener carry manufacturer warranties, and both are voidable by improper work.
Door warranties – Clopay, Amarr, Wayne Dalton, and the rest – cover the panels, the finish, and the hardware, and they typically spell out who may perform certain tasks. Installing a new door improperly can void the panel warranty. Painting a finish with the wrong product voids the finish warranty. Modifying torsion hardware in a way the manufacturer didn’t authorize can void the hardware coverage. That’s not a scare tactic; it’s in the printed documents.
Opener warranties – LiftMaster, Chamberlain, Genie – similarly cover the motor, the logic board, and the accessories, and typically specify that installation and repair be done by a trained technician. Removing the cover to replace a gear can, in some cases, void the coverage. Reconnecting a door incorrectly can too.
Practically, here’s the reason that matters: a warranty is real money. If a two-year-old operator fails and the warranty is voided because of a DIY repair attempt inside the housing, you’re not looking at a covered repair. You’re looking at a new operator.
Craftsman, Raynor, and the legacy brands all carry similar language. Before you open any case, read the warranty page for your specific model. If the fix needs to be done under warranty, that fix needs to be done by a technician.
A Realistic Cost Comparison for Hilliard Homeowners
DIY versus professional is a money conversation as well as a safety conversation, and the money math is more interesting than it first appears. The parts often cost less. The wrong first repair often costs more.
Here’s a general look at how the numbers line up for common jobs. These are typical estimates and the exact figure is set by a written estimate, but the shape of the comparison holds.
- Weatherstripping – DIY: materials cost roughly $30-$80 depending on door width. Professional: usually $120-$220 for the job including both the bottom seal and the frame. DIY wins if you’re comfortable sliding the seal in.
- Sensor alignment – DIY: essentially free. Professional: part of a service call. DIY is the obvious choice unless the sensor is physically broken.
- Lubrication – DIY: a $10 can of silicone spray. Professional: you don’t need to call anyone for this.
- Spring replacement (single spring) – DIY parts: $60-$120 typical for the spring alone. Professional: typically $180-$340 for a single spring, and a matched pair costs about twice that. The gap is smaller than people expect once parts, time, and the winding tool are counted.
- Cable replacement (one side) – DIY parts: $20-$50. Professional: typically $150-$300 for the cable, hardware, and re-tension. Cables are the second-most common “I tried it and now I’m calling you” repair.
- Opener replacement – DIY parts: a new unit runs $150-$400 depending on the model and whether it includes a battery backup. Professional: typically $350-$700 installed. The gap here is the time and the risk of redoing it.
- Panel replacement – DIY is not really an option once a panel is bent. Professional estimate will vary with door style, and the panel itself is the largest cost. Call for a quote.
- Full door replacement – professional installation only. Free measure and written quote is the correct first step.
The point isn’t that professional service is always cheaper. It’s that for the tension jobs, the DIY cost is almost the same as the professional cost when you count the tools you’d need to buy (winding bars, tensioning tools, safety gear) and the time. Add the risk of a mistake that turns a $250 repair into a $600 repair, and the professional side wins.
Where the numbers shift
Hilliard labor rates track central Ohio. Our technicians have up to 11 years of experience, and we quote every job individually with a free estimate before any work starts. If the estimate looks high, ask for the line items. A serious technician will always separate parts from labor.
Call (833) 918-9857. We answer 24/7. Fast dispatch from 7am to 7pm, Sunday through Friday.
The Two Mistakes Hilliard Homeowners Make Most Often
In our experience, two specific attempts to save money turn a simple fix into a more expensive job more often than anything else. Both are easy to avoid once you know they exist.
Mistake #1: Winding a torsion spring with the wrong tool
The job looks doable with a screwdriver, a pipe, or a set of vise grips. It isn’t. The winding cones on a torsion assembly are sized for a specific winding bar diameter, and using anything else risks slippage the moment the spring takes load. Homeowners who go this route often stop halfway through, with the spring partly wound, and now the door is in a state that’s less safe than it was before. At that point, we can still finish the job, but the diagnostic move is more careful than starting fresh.
Mistake #2: Replacing a spring without checking the door’s balance
A new spring installed on a door that’s out of balance will bind, strain the operator, and fail early. Homeowners focused on the broken spring often skip the balance check, which takes a technician about thirty seconds and tells you whether the door will behave with the new spring. In Hilliard, where doors see wide temperature swings between summer and winter, balance points shift more than they do in milder climates, making the check more important, not less. Our recommendation: get the door balanced properly, and it will last.
When to Call a Professional
We’ve said plenty about the safe DIY jobs, and we mean it. But certain situations should be a phone call, not a project. If any of the following apply, call us before you touch the door.
- Any broken or visibly sagging spring, on either the torsion or the extension side.
- A door that hangs off balance, closes crooked, or rises unevenly.
- Any cable that has frayed, snapped, or come off its drum.
- A door that won’t open, is stuck open, or has become a security concern.
- An opener that runs but the door doesn’t move, or moves then reverses immediately.
- Any panel that is bent, cracked, or off-track.
- Any situation where you can’t see clearly what’s broken.
Hilliard Garage Door Repair Pros offers free estimates in Hilliard and serves homeowners across the area. We work with Chamberlain, Genie, Clopay, Amarr, and other major brands, so we’re not going to tell you we can’t work on your system. Call (833) 918-9857. We answer 24/7. Fast dispatch from 7am to 7pm, Sunday through Friday.
Hilliard Garage Door Repair Pros specializes in one trade: garage doors. Not gutters, not siding, not general handyman work. When we show up, the door and the operator are the whole focus. That’s the difference between a specialist and someone who’s mostly doing something else.
Frequently Asked Questions
A single torsion spring replacement in Hilliard typically runs $180-$340, and a matched pair costs about twice that. The exact price depends on the spring gauge, the door weight, and the condition of the surrounding hardware, and we quote it in writing before any work starts. Call (833) 918-9857 for an exact quote. Estimates are free.
No. Torsion and extension springs store enough energy to cause serious injury on release, and the winding process requires dedicated winding bars and training. Watching a video doesn’t change the physics. Leave the spring work to a technician and focus your DIY time on lubrication, weatherstripping, and sensor alignment.
Permit requirements for garage door replacement vary by city, so the right move is to call the Hilliard building department before scheduling installation. Ask what they require for a door swap and whether the work has to be inspected. That call takes five minutes and settles it definitively. When in doubt, assume a permit is needed and confirm.
It can. Door and opener manufacturers set their own warranty terms, and many specify that installation and repair be done by a trained technician. Opening the opener housing, replacing panels with non-matching hardware, or using the wrong paint on the door finish can each void coverage. Check your owner’s manual or warranty documents before starting any repair under warranty.
Yes in many cases. A door stuck open is a security situation and we treat it as urgent. We answer 24/7 and dispatch from 7am to 7pm, Sunday through Friday. Call (833) 918-9857 and describe what happened. We’ll tell you honestly what we can do today.
Yes. We connect you with independent local professionals who are licensed and insured as their state requires, so the technician who shows up at your door carries the credentials and coverage expected for garage door work. We don’t subcontract to general handymen, and we don’t hand your job to someone unqualified to be doing it. Call (833) 918-9857 for a free estimate on your repair or installation.
The Bottom Line
The DIY-versus-professional question for garage doors is a two-bucket problem. Weatherstripping, sensor alignment, lubrication, and remote pairing are all within a homeowner’s reach and cost very little. Spring work, cable work, torsion hardware, opener replacement, and any panel or structural repair belong in the other bucket. The reasoning isn’t about your ability. It’s about the physics. Stored tension in a torsion spring behaves differently than a leaky faucet, and the risk category is genuinely higher. Hilliard Garage Door Repair Pros works on all the major door and opener brands and specializes in the safety-critical jobs. If you’re not sure which bucket your project is in, call us and ask. The estimate is free, and we’d rather talk you out of a dangerous DIY than repair the aftermath.
Written by the team at Hilliard Garage Door Repair Pros.
See the difference
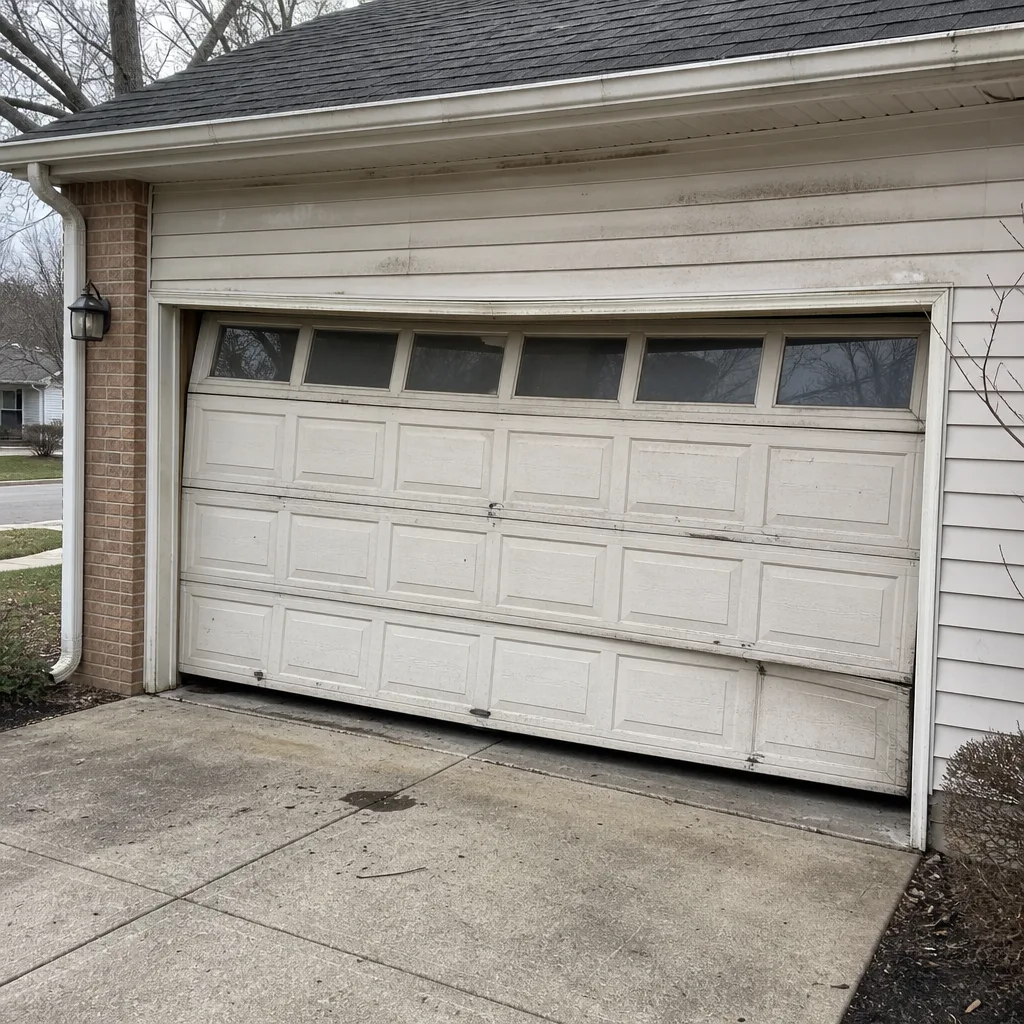 Before
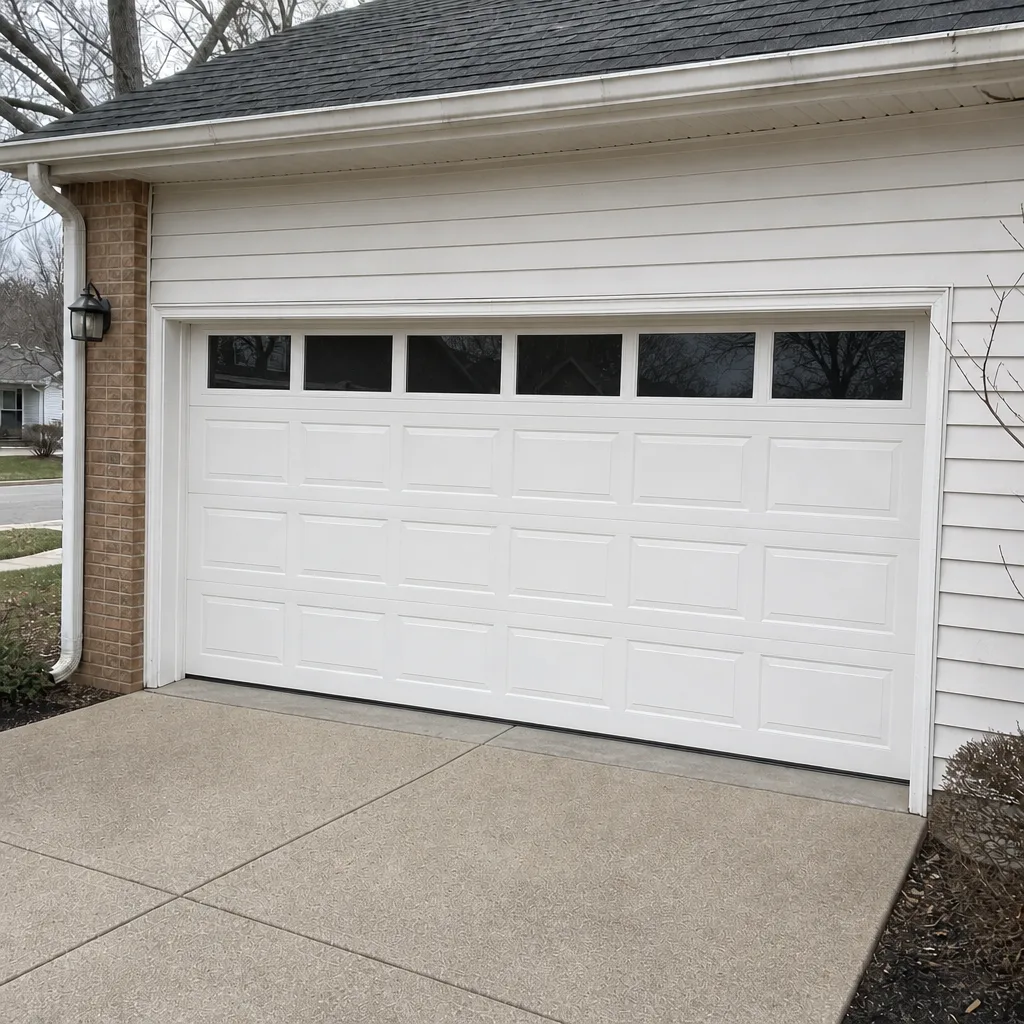 After
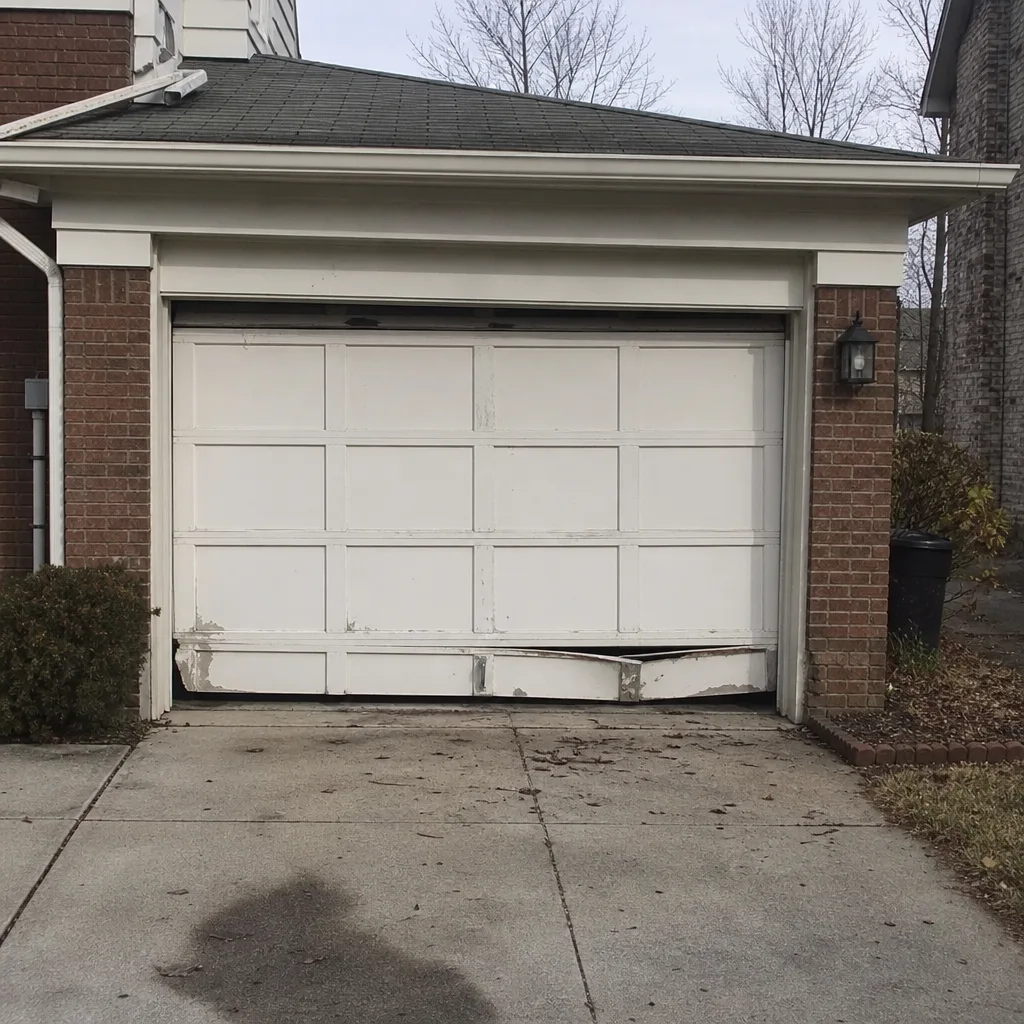 Before
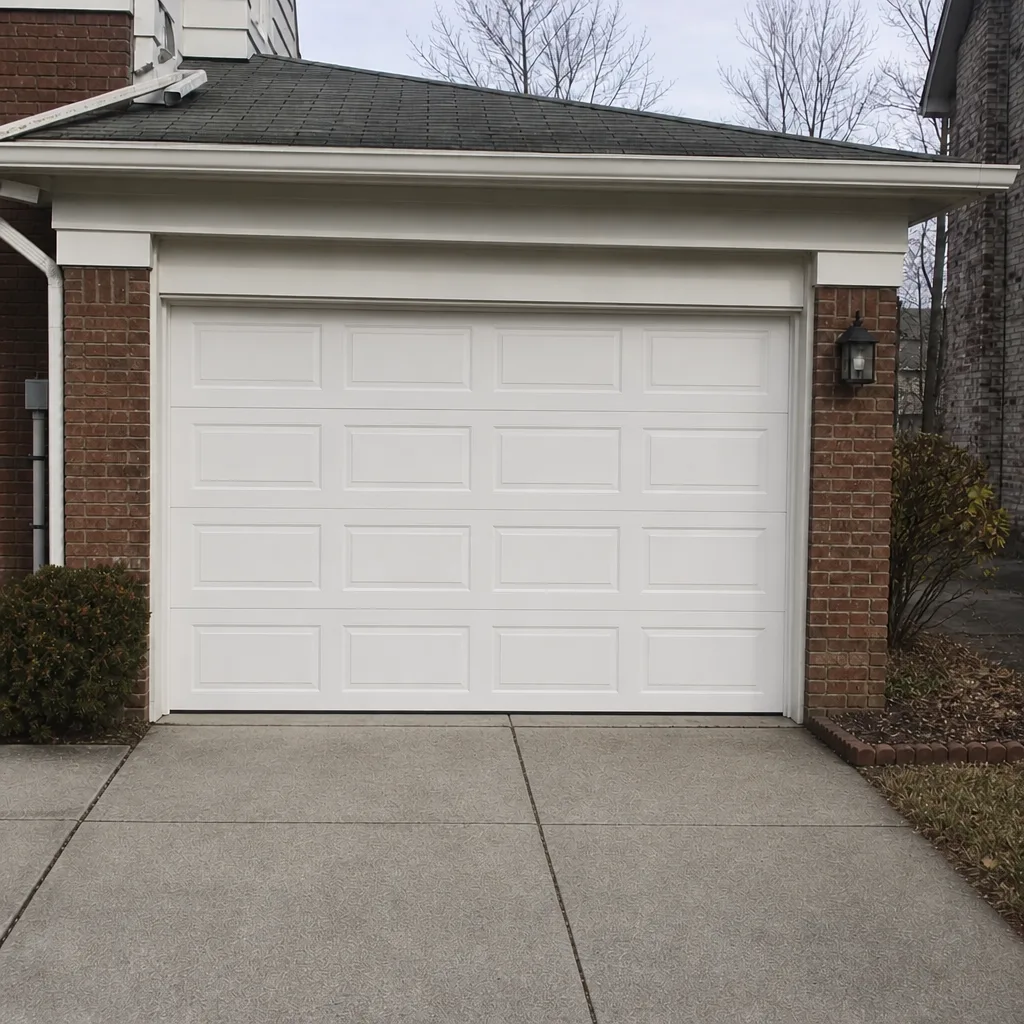 After
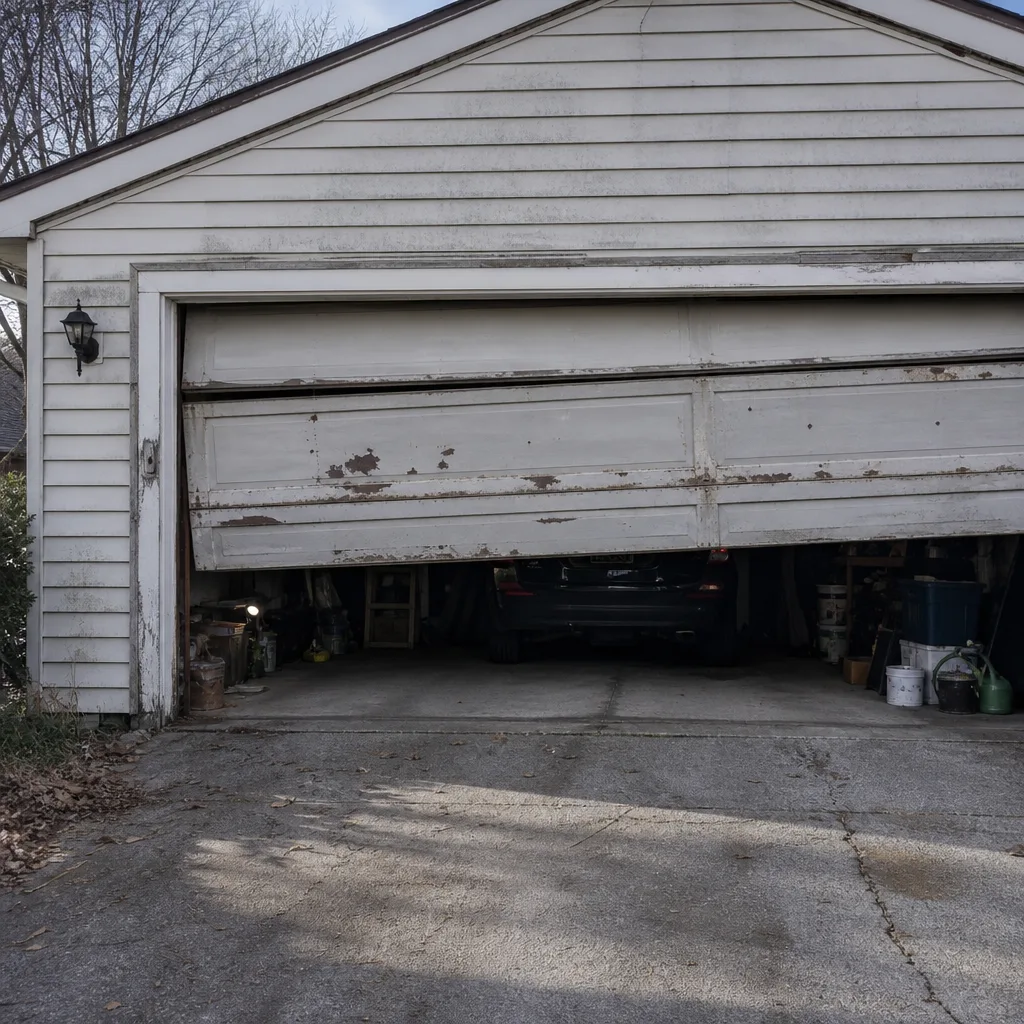 Before
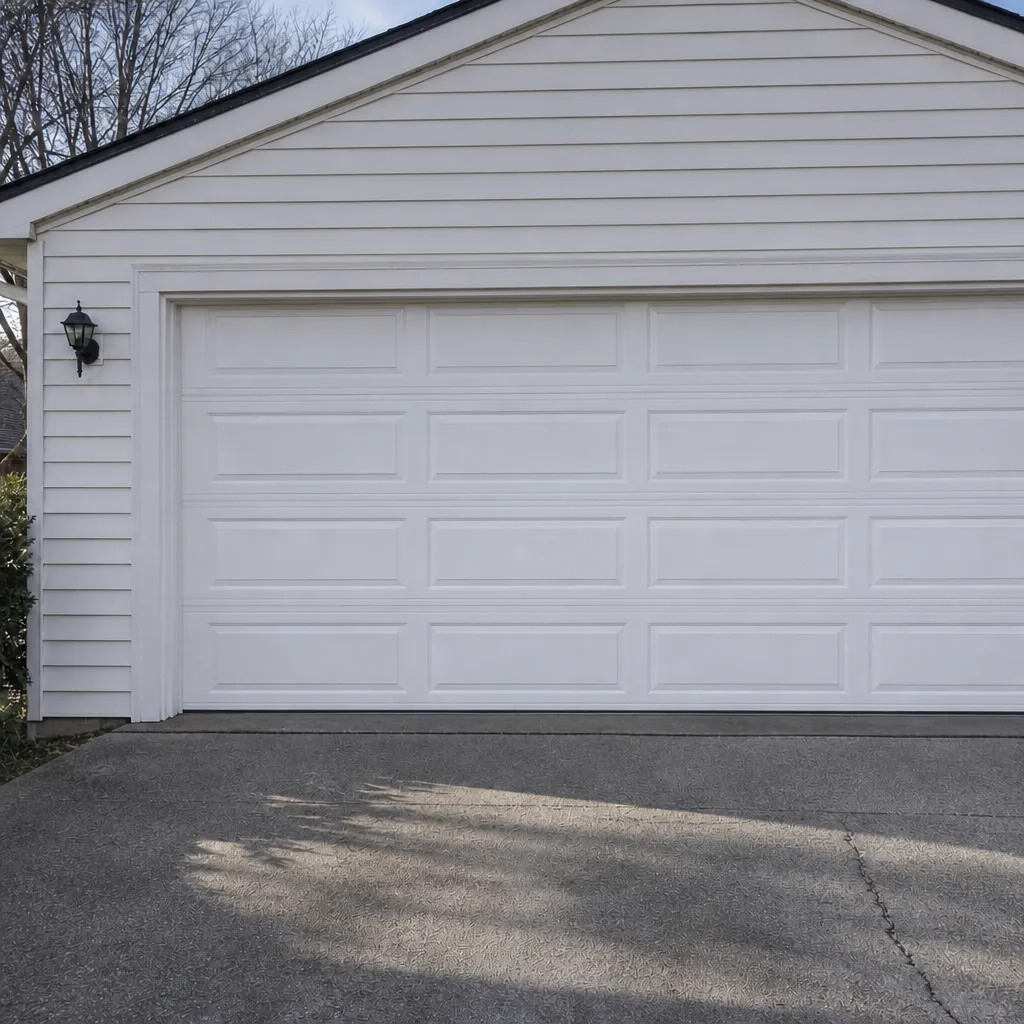 After